
Ductts Build Log
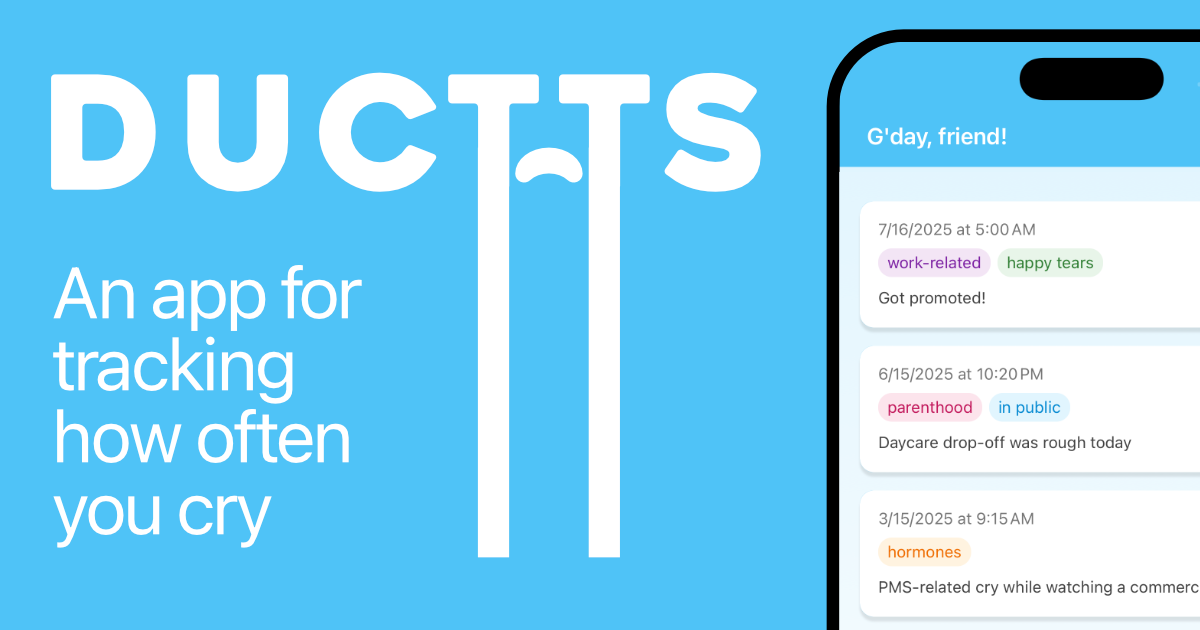
I built and released Ductts, an app for tracking how often you cry! I built it with React Native and Expo (both of which were new to me) and it was really fun (and challenging) putting it together.
Cassidy, are you good?
Yes! I should have anticipated just how many people would ask if I’m okay. I am! I just like data.
The app
Here’s a silly video I made of the app so you can see it in action first!
The idea
The concept of Ductts came from my pile of domains, originally from November 2022 (according to my logs of app ideas, ha). I revisited the idea on and off pretty regularly since then, especially when I went through postpartum depression in 2023, and saw people on social media explain how they manually track when they cry in their notes apps for their therapists.
I had a few different name ideas for the app, but more than anything I wanted it to have a clever logo, because it felt like there was a good opportunity for one. I called it crycry for a while, CryTune, TTears (because I liked the idea of the T_T emoticon being embedded in the logo), and then my cousin suggested Ductts! With that name I could do the T_T design idea, and I thought it might be a fun pun on tear ducts and maybe a duck mascot.
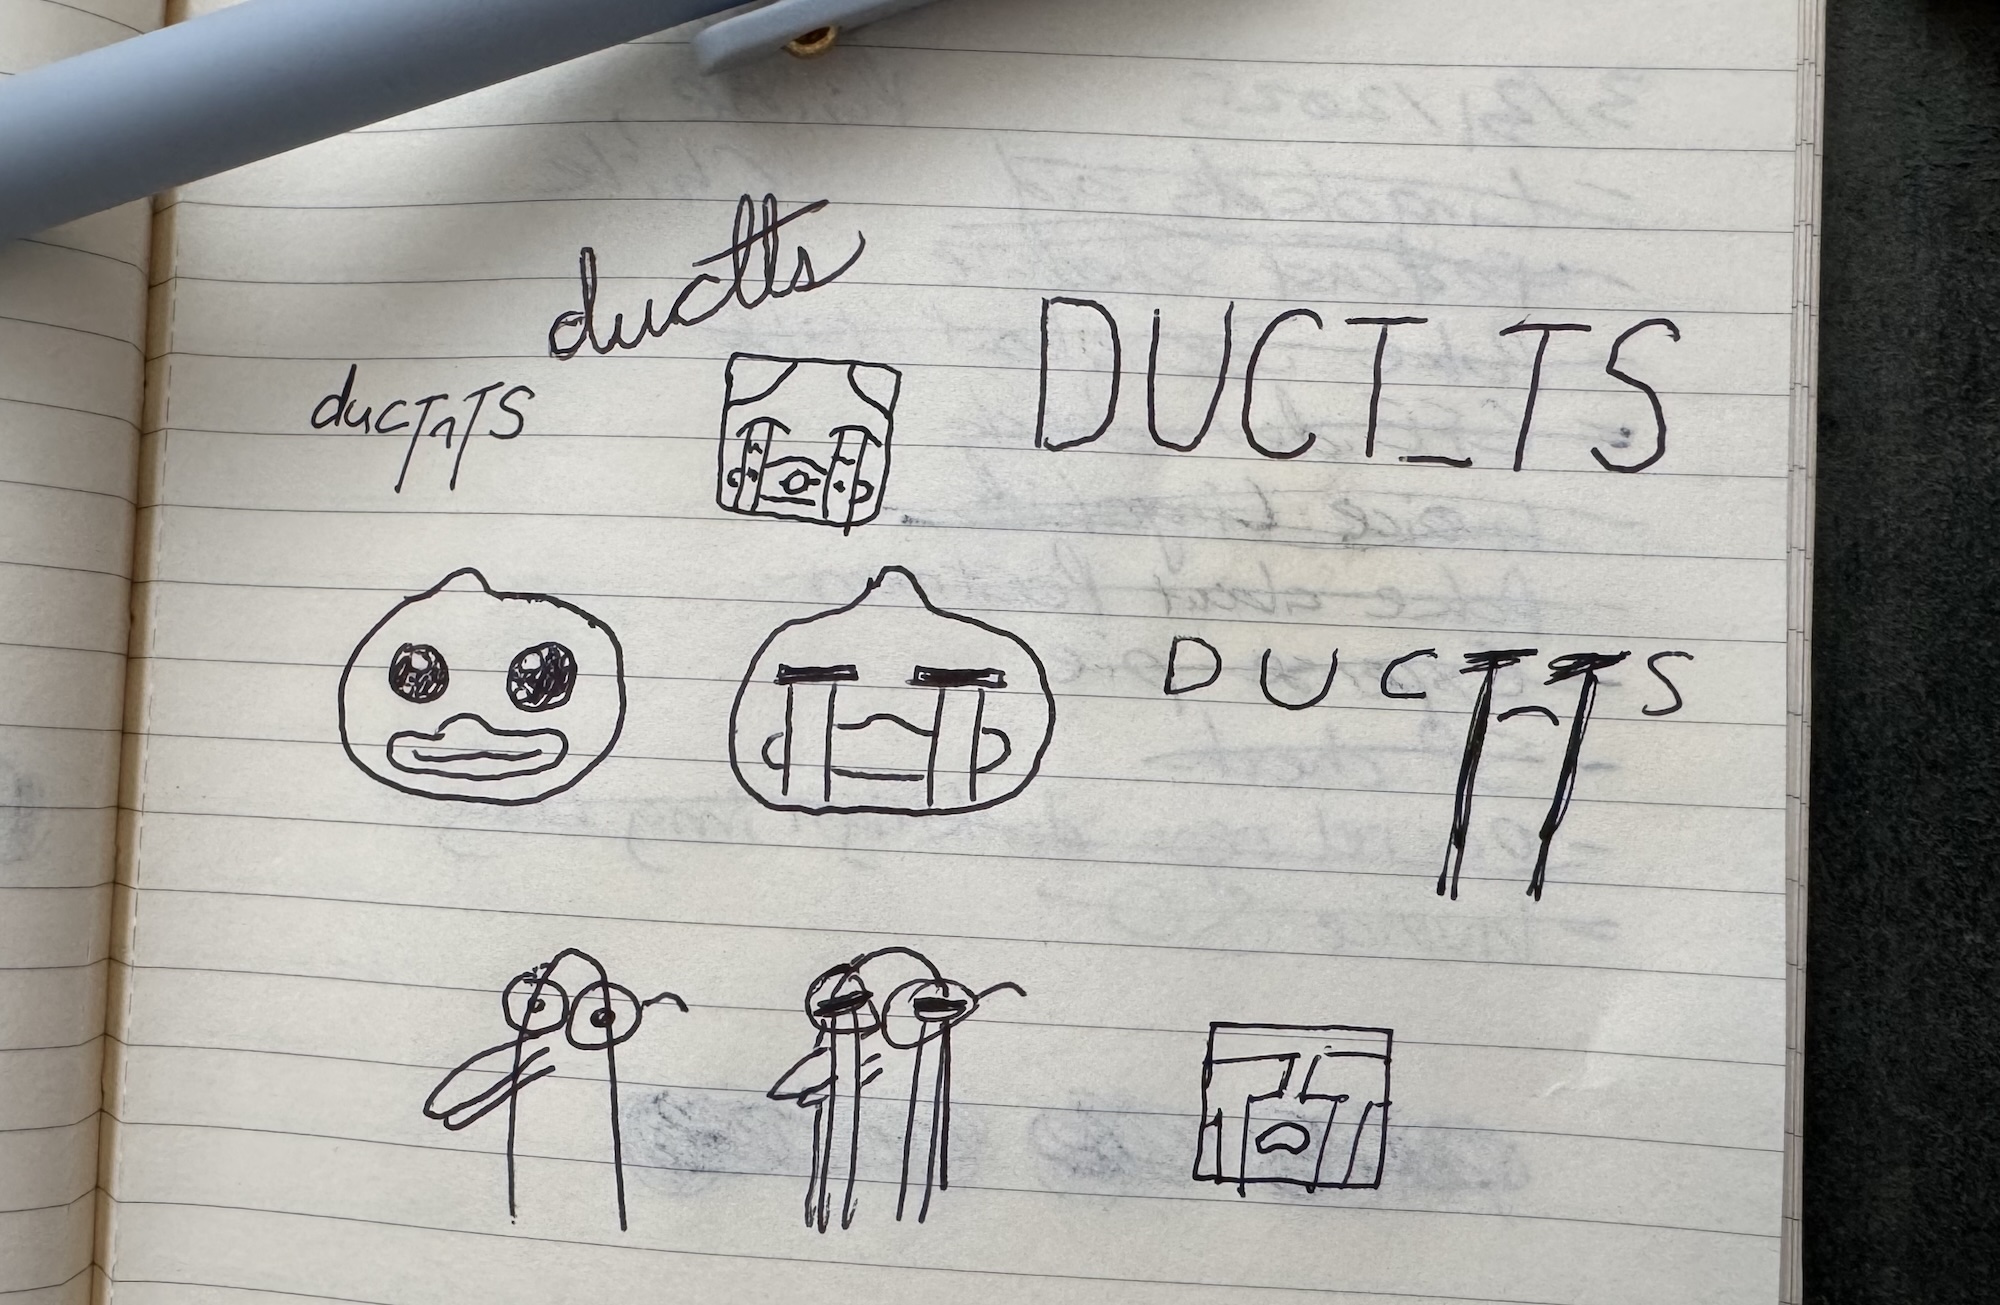
Turns out ducks are hard to draw, so I just ended up with the wordmark:

Building with React Native and Expo
I really wanted this app to be native so it would be easy to use on a phone! I poked around with actually using native Swift, but… admittedly the learning curve slowed me down every time I got into it and I would lose motivation.
So, in a moment of yelling at myself to “just build SOMETHING, Cassidy” I thought it might be fun to try using AI to get me started with React Native! I tried a0 at first, and it was pretty decent at making screens that I thought looked nice, but at the time when I tried it, the product was a bit too immature and wouldn’t produce much that I could actually work with. But, it was a good thing to see something that felt a bit real!
So, from there, I started a fresh Expo app with:
npx create-expo-appI definitely stumbled through building the app at first because I used the starter template and had to figure out which things I needed to remove, and probably removed a bit too much at first (more on that later). I got very familiar with the Expo docs, and GitHub Copilot was helpful too as I asked about how certain things worked.
Features
In terms of the “order” in which I implemented features, it went like this:
- Setting up the feed with mock data
- Adding a header that had the app logo in the upper left, then action buttons on the right for logging a cry, looking at your stats, and updating your tags
- Adding local saving to save the app’s entries across sessions
- Implementing modals for all of the action buttons
- Logging a cry needed a date/time picker, an intensity marker, a selfie option (which I implemented later), and a description
- Crying stats needed frequency, most-used tags, and intensity distribution
- Settings needed a form for updating the tags
- Adding an import/export option, added that to the settings modal
- Realizing modals are not very mobile-y and turned the “logging a cry” part into a more page-like structure, and moved the button to the bottom of the page, and turned the other action buttons into drawers
- Adding a filter/sort drawer to the top of the feed
- Adding the ability to edit and delete cries, turning that into a swipe-able drawer
- Adding a “greeting” part to the header with the user’s name instead of just plopping the logo there
- Adding a setup page for a user to add their name and initial tags
- Adding in accessibility text-sizing adjustments
- Configuration of the splash screen and icons
And peppered throughout all of this was a lot of styling, re-styling, debugging, context changes, design changes, all that jazz. This list feels so small when I think about all of the tiny adjustments it took to make drawers slide smoothly, gestures move correctly, and testing across screen sizes.
Libraries and packages
There’s a few notable libraries and packages that I used specifically to get everything where I wanted:
expo-router: for the main “startup” page and then the rest of the app (I didn’t need this, I could have made everything just one page, in retrospect)expo-document-pickerandexpo-file-system: for saving and pulling CSVs of tearsexpo-image-pickerandexpo-media-library: for saving and using crying selfies, and creating an album in which all the selfies will be saved@react-native-community/datetimepicker: the picker for dates/times when you cried (that little drawer I’m pretty proud of for picking a time quickly)react-native-reanimated: for smoother animations across the app, this part took a long time to learn to get right, but feels really good now@react-native-async-storage/async-storage: for saving everything locally to the phone, rather than to the cloudreact-native-gesture-handler: for swiping on cries in the feed to edit or delete
Building it properly
I learned a lot about how Expo does magic with their Expo Go app for testing your apps.
Expo software developer Kadi Kraman helped explain it to me best:
A React Native app consists of two parts: you have the JS bundle, and all the native code. Expo Go is a sandbox environment that gives you a lot of the native code you might need for learning and prototyping. So we include the native code for image, camera, push notifications and a whole bunch of libraries that are often used, but it’s limited due to what is possible on the native platforms.
So when you need to change things in the native-land, you need to build the native code part yourself (like your own custom version of Expo Go basically).
One of the things I really wanted to implement was an animated splash screen, and y’all… after building the app natively, properly, about a million times, I decided that I’m cool with it being a static image. But, here’s the animation I made anyway, for posterity:
So many things are funky when it comes to building things natively, for example, how dependencies work and what all is included. There are a handful of libraries where I didn’t read the README (I’m sorry!!!!) and just installed the package to keep moving forward, and then learned that the library would work fine in Expo Go, but needed different packages installed to work natively. Phew. Expo Router is one of them, where again, if I had just read the docs, I could have known that I shouldn’t have removed certain packages when using create-expo-app. This is actually what you need to run if you want to install expo-router:
npx expo install expo-router react-native-safe-area-context react-native-screens expo-linking expo-constants expo-status-barMy bad.
Kadi once again came in clutch with a great explanation:
The reason this sometimes happens is: Expo Go has a ton of native libraries pre-bundled for ease of development. So, even if you’re not installing them in your project, Expo Go includes the native code for them.
For a specific example, e.g. this QR code library requires react-native-svg as a peer dependency and they have it listed in the instructions. However if you were to ignore this and only install the QR code library, it would still work in Expo Go, because it has the native code from
react-native-svgpre-bundled.But when you create a development build, preview build or a production build, we don’t want to include all the unused code from Expo Go, it will be a completely clean build with only the libraries you’ve installed explicitly.
The Expo Doctor CLI tool saved my bacon a ton here as I stumbled through native builds, clearing caches, and reinstalling everything. Kadi and the Expo team actually made a PR to help check for peer dependencies after I asked them a bunch of questions, which was really awesome of them!
Shipping to app stores
Y’all shipping native apps is a horrible experience if you are used to web dev and just hitting “deploy” on your provider of choice. I love web development so much. It’s beautiful. It’s the way things should be.
But anyway, App Store time. I decided to just do the iOS App Store at first because installing the Android Simulator was the most wretched developer experience I’ve had in ages and it made me want to throw my laptop in the sea.
Resources that helped me
Kadi (I love you Kadi) had a list of great resources for finalizing apps:
- A general overview she wrote of “things you don’t know you don’t know about releasing to stores”
- What store assets you need to create in order to publish
- How to create and submit a prod Android build
- How to create and submit a prod iOS build
TL;DR: Build your app, make a developer account, get 3-5 screenshots on a phone and on a tablet, fill out a bunch of forms about how you use user data, make a privacy policy and support webpage, decide if you want it free or paid, and fill out forms if it’s paid.
Building my app properly
Y’all… I’m grateful for the Expo team and for EAS existing. Their hand-holding was really patient, and their Discord community is awesome if you need help.
Making graphics
Making the screenshots was easy with Expo Orbit, which lets you choose which device you want for each screenshot, and I used Affinity Designer to make the various logos, screenshots, and marketing images it needed.
Setting up payments
I decided to make the app just a one-time $0.99 purchase, which was pretty easy (you just click “paid” and the amount you want to sell it for), BUT if you want to sell it in the European Union, you need to have a public address and phone number for that. It took a few pieces of verification with a human to make that work. I have an LLC with which I do consulting work and used the registered agent’s information for that (that’s allowed!), so that my personal contact info wouldn’t be front-and-center in the App Store for all of Europe to see.
The website
The website part was the least of my worries, honestly. I love web dev. I threw together an Astro website with a link to the App Store, a Support page, and a Privacy Policy page, and plopped on my existing my domain name ductts.app.
One thing I did dive deep on, which was unnecessary but fun, was an Import Helper page to help make a Ductts-compatible spreadsheet for those who might already track their tears in a note on their phone. Making a date converter and a sample CSV and instructions felt like one of those things that maybe 2 people in the world would ever use… but I’m glad I did it anyway.
It’s alive!
Finally, after getting alllll of this done, it was just waiting a few days until the app was finally up on the App Store, almost anticlimactically!
While I waited I made a Product Hunt launch page, which luckily used all the same copy and images from the App Store, and it was fun to see it get to the #4 Health & Fitness app of the day on Product Hunt, and #68 in Health & Fitness on the App Store!
I don’t expect much from Ductts, really. It was a time-consuming side project that taught me a ton about Expo, React Native, and shipping native apps, and I’m grateful for the experience.
…plus now I can have some data on how much I cry. I’m a parent! It happens!
Download Ductts, log your tears, and see ya next time.